05/11/18
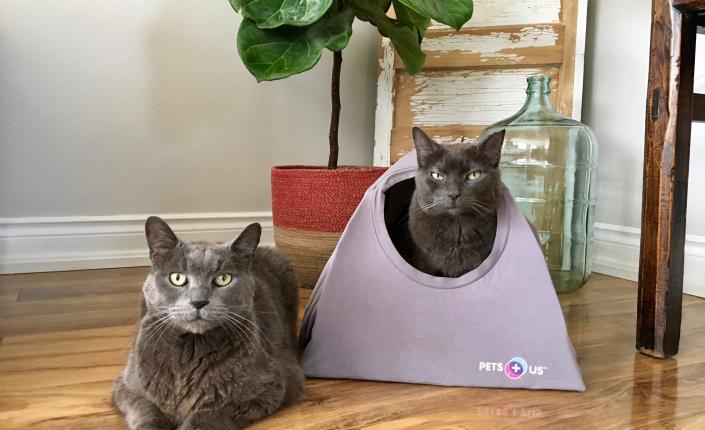
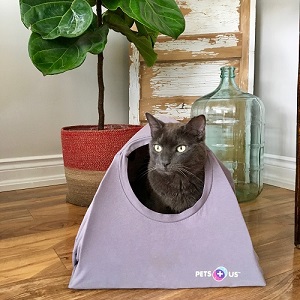
This cat tent is the purr-fect DIY choice for cat lovers! Giving your cat a little place of their own or an occasional kitty hideout, doesn’t have to involve many materials, take long or be expensive.
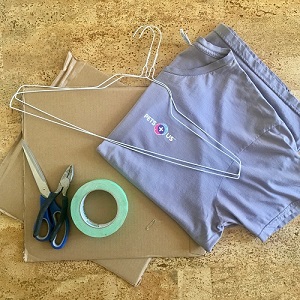
Materials Needed:
- Two pieces of cardboard (We cut ours into 15-inch x 15-inch squares)
- One medium – large t-shirt
- Two wire hangers
- Masking tape, scissors and wire cutters
- Safety Pins
Tip: Using safety pins allows you to switch out t-shirts and give them a wash!
Directions:
- Cut off the twisted ends to your hangers
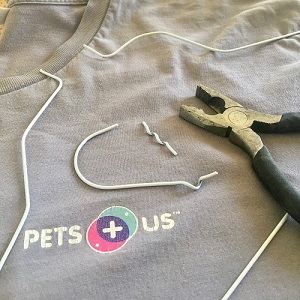
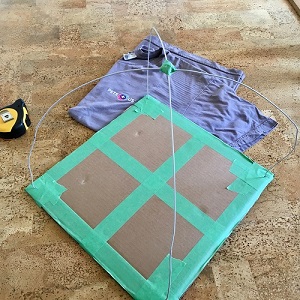
- Shape your hangers into a large ‘U’ shape. Smooth out of any bends or edges. Each ‘U’ shape will go from one corner to the opposite diagonal corner of your cardboard piece.

- Reinforce and stabilize your cardboard. We’ve taped two pieces of cardboard together to make a stronger bottom to prevent bending.
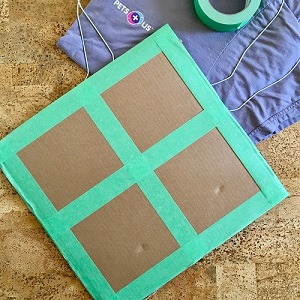
- Poke a hole about a half to one inch in from each corner of your cardboard piece. You can use the end of a hanger to this. Once complete tape two of your hangers together. Do this by crossing the hangers in the middle and make sure all the ends touch your cardboard surface. Tape together to prevent them from shifting.
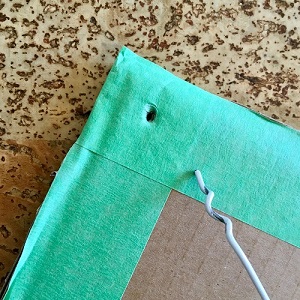
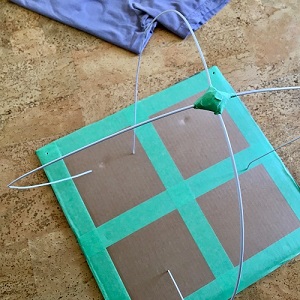
- Place one-inch of the hanger end through each cardboard hole. Bend each end of the hanger ends at the bottom of the cardboard piece and tape down.
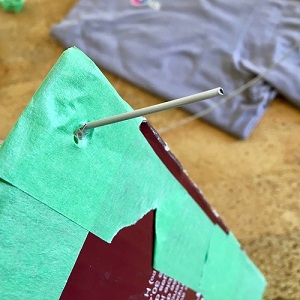
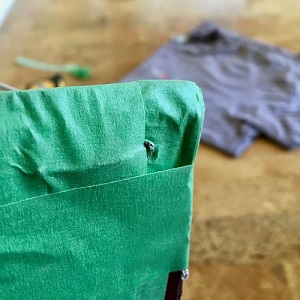
- Place your tent frame on flat surface. Flatten and straighten wire as needed and ensure tape is nice and smooth.
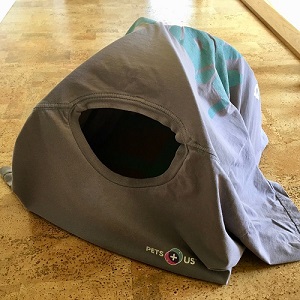
- It’s t-shirt time! Pull t-shirt of tent frame and position it so the neck hole is in the front middle and the rest of the shirt is falling behind. Fold and tighten up the excess shirt underneath the tent. Pull under the sleeves and safety pin everything in place.

- Time to let your cat explore its new tent! Place a blanket, catnip or toys inside as an added bonus!
Check out our other pet DIY’s on our YouTube Channel!